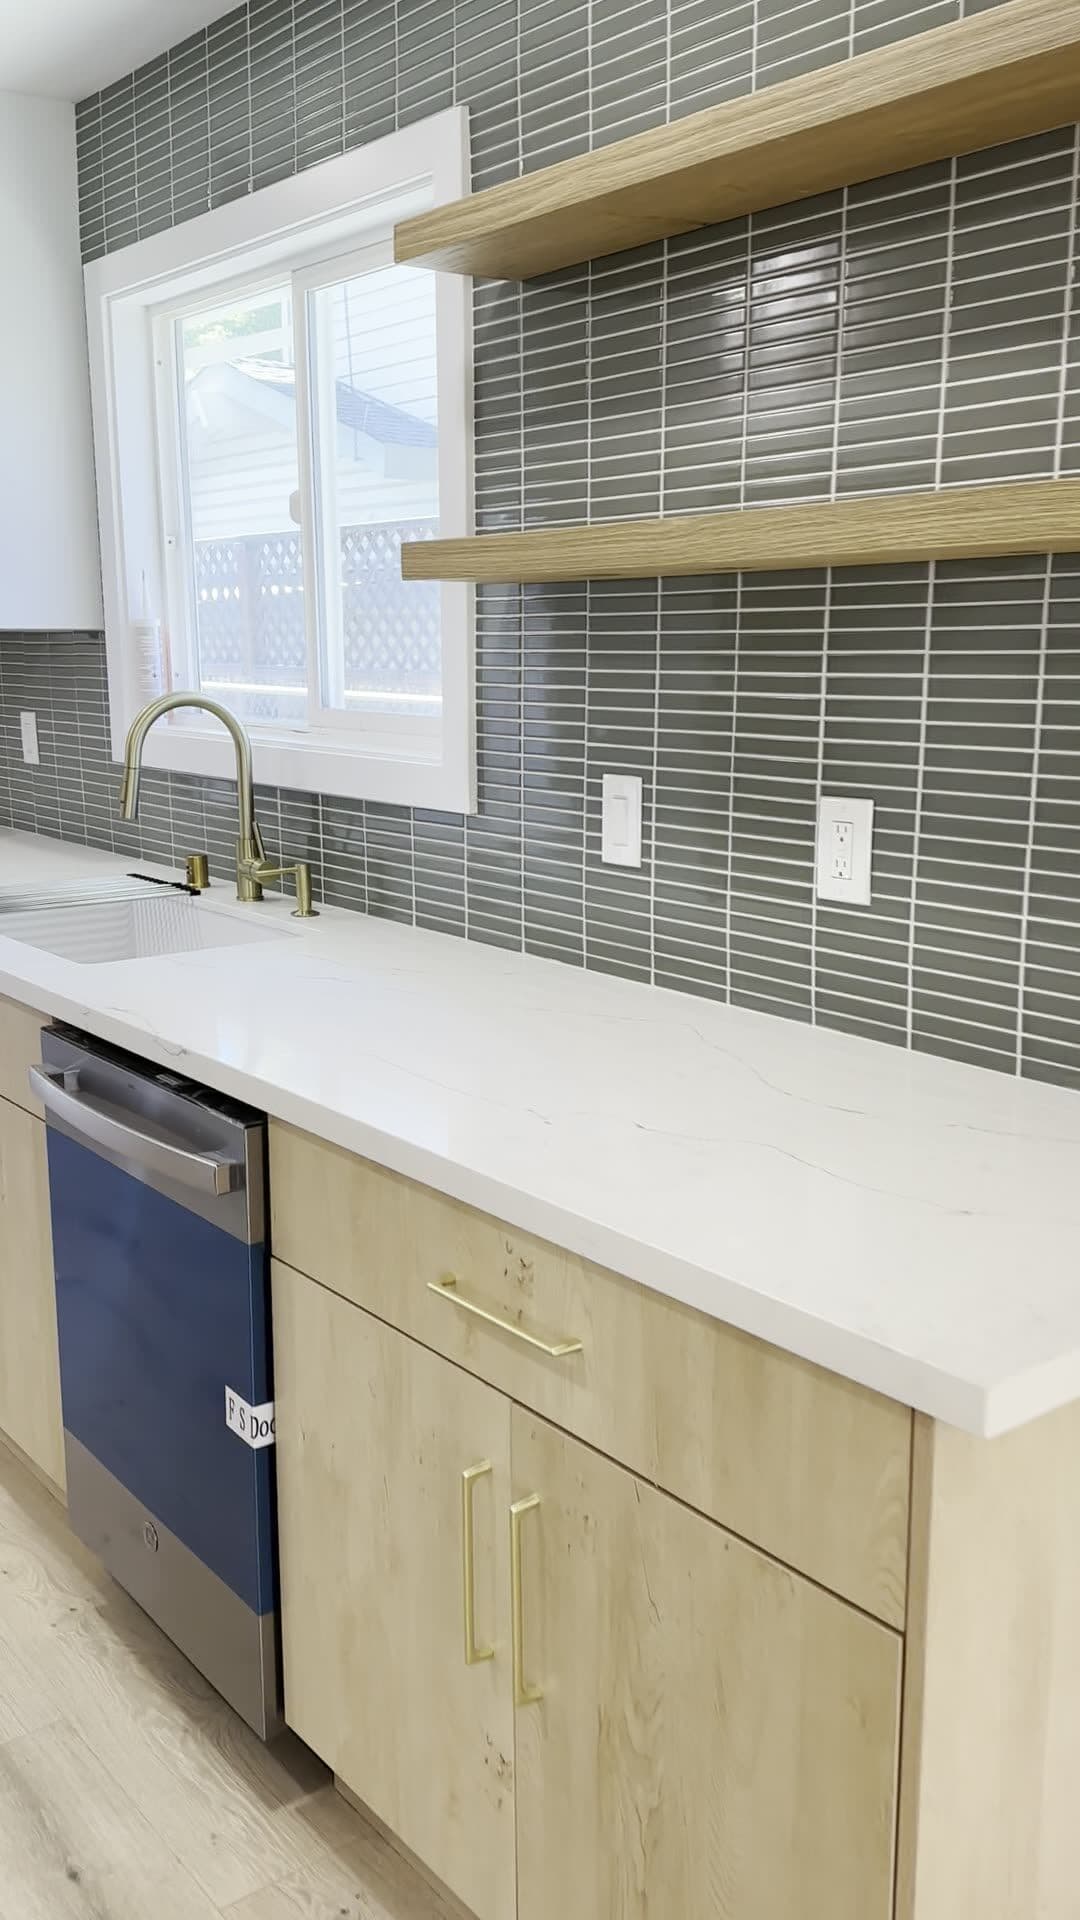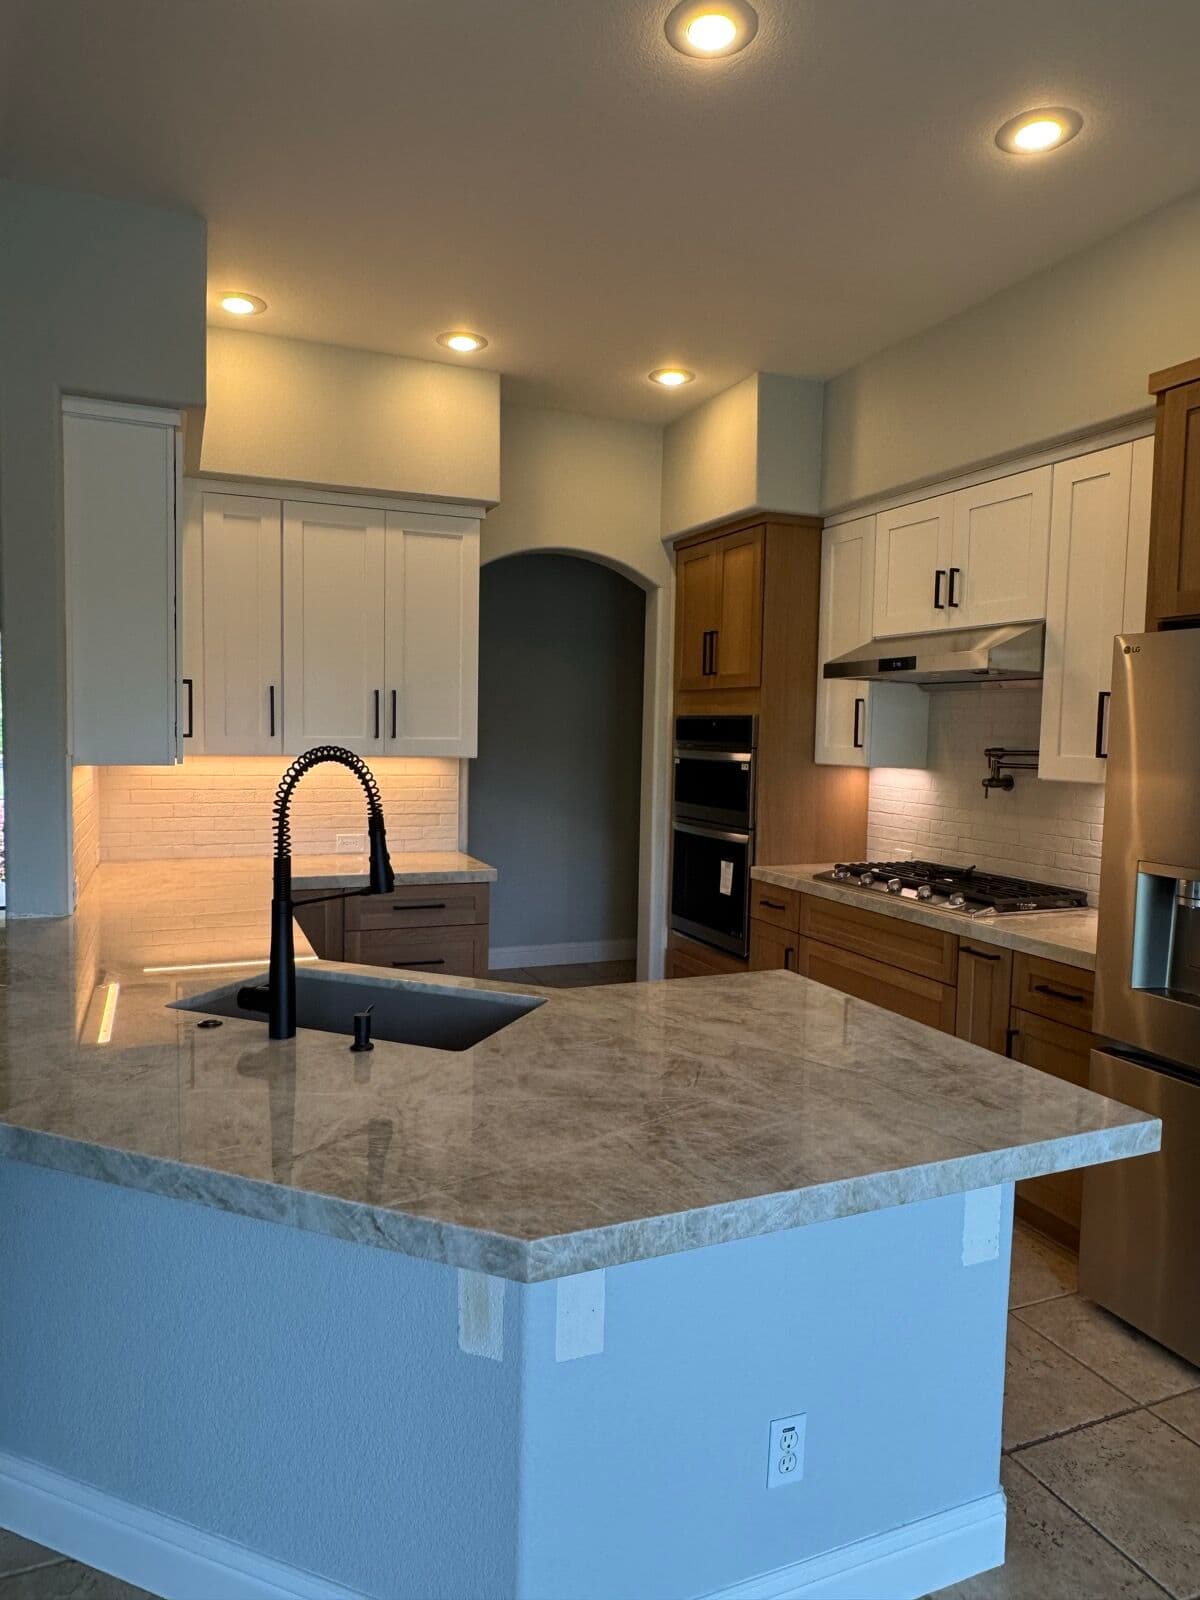
What the template actually is
The template is a full-size mock-up of your finished countertops, made in your kitchen, after the cabinets are in. Sometimes it's physical — thin plywood or lath strips glued together over every cabinet run. More often now it's digital, shot with a laser or camera rig that records the room to a fraction of an inch. Either way, the result is the same: an exact map of where your counters will land, cutout by cutout.
Nothing gets cut until the template exists. That means your timeline cannot be compressed past this step no matter how eager everyone is. Slab in stock, fabricator ready, install crew free — it all waits on one visit that takes a couple of hours.
The good news: your old countertops usually stay on until template day. You keep a working kitchen through the cabinet work. The stretch without counters is the gap between template and install — roughly one to two weeks for most jobs, while the slab gets cut, edged, and polished. Not the whole remodel.
What gets decided that day
The template visit is a decision meeting disguised as a measuring appointment. Here's what gets locked in:
- Seam locations. Where seams land depends on slab size, grain or veining direction, and how far a piece can reasonably be carried into your house. A veined marble-look quartz run might need a seam placed so the pattern flows; a long galley wall might need one simply because slabs come in fixed lengths. You get a say — but this is the day to say it. Ask about seam placement at the template, not after the slab is cut.
- Cutouts. Sink, faucet holes, and cooktop are confirmed against the actual fixtures. Every fixture has to be physically on site by template day. The sink model determines the cutout, and a faucet that shows up late can stall your install because nobody will drill stone on spec.
- Overhangs. Breakfast bar depth, clearances around appliances, whether the counter covers the cabinet end panels or stops flush. Once the slab is cut for a 12-inch bar overhang, changing your mind to 15 means a new slab.
If any of these decisions aren't made yet, make them the week before. The design and 3D rendering stage is where overhangs and appliance clearances get worked out on paper, which is cheaper than working them out in stone.
What the template finds in older homes
A lot of our work is in 1950s-70s ranch homes around North Highlands, Carmichael, and the rest of the Sacramento area. Those houses were framed fast, and sixty years of settling hasn't squared anything up. Walls wander. Corners that look like 90 degrees are often 88 or 92. The template is where that gets found out, and it's why we template instead of cutting from your old counter's measurements.
If a wall bows out a quarter inch over an eight-foot run, you'll hear about it on template day, and you'll pick from three options:
- Scribe the counter to the wall. The back edge of the slab gets shaped to follow the wall's curve. Costs some fabrication time, hides the gap completely.
- Cover it with backsplash. A tile backsplash or a taller splash piece bridges a small gap. Cheapest fix, works up to a point.
- Fix the wall. Straighten the drywall before install. The most correct answer and the most expensive, and usually only worth it as part of a bigger kitchen remodel where walls are open anyway.
None of these is wrong. They just cost differently and look different, and the choice has to be made before fabrication.
Stone doesn't flex
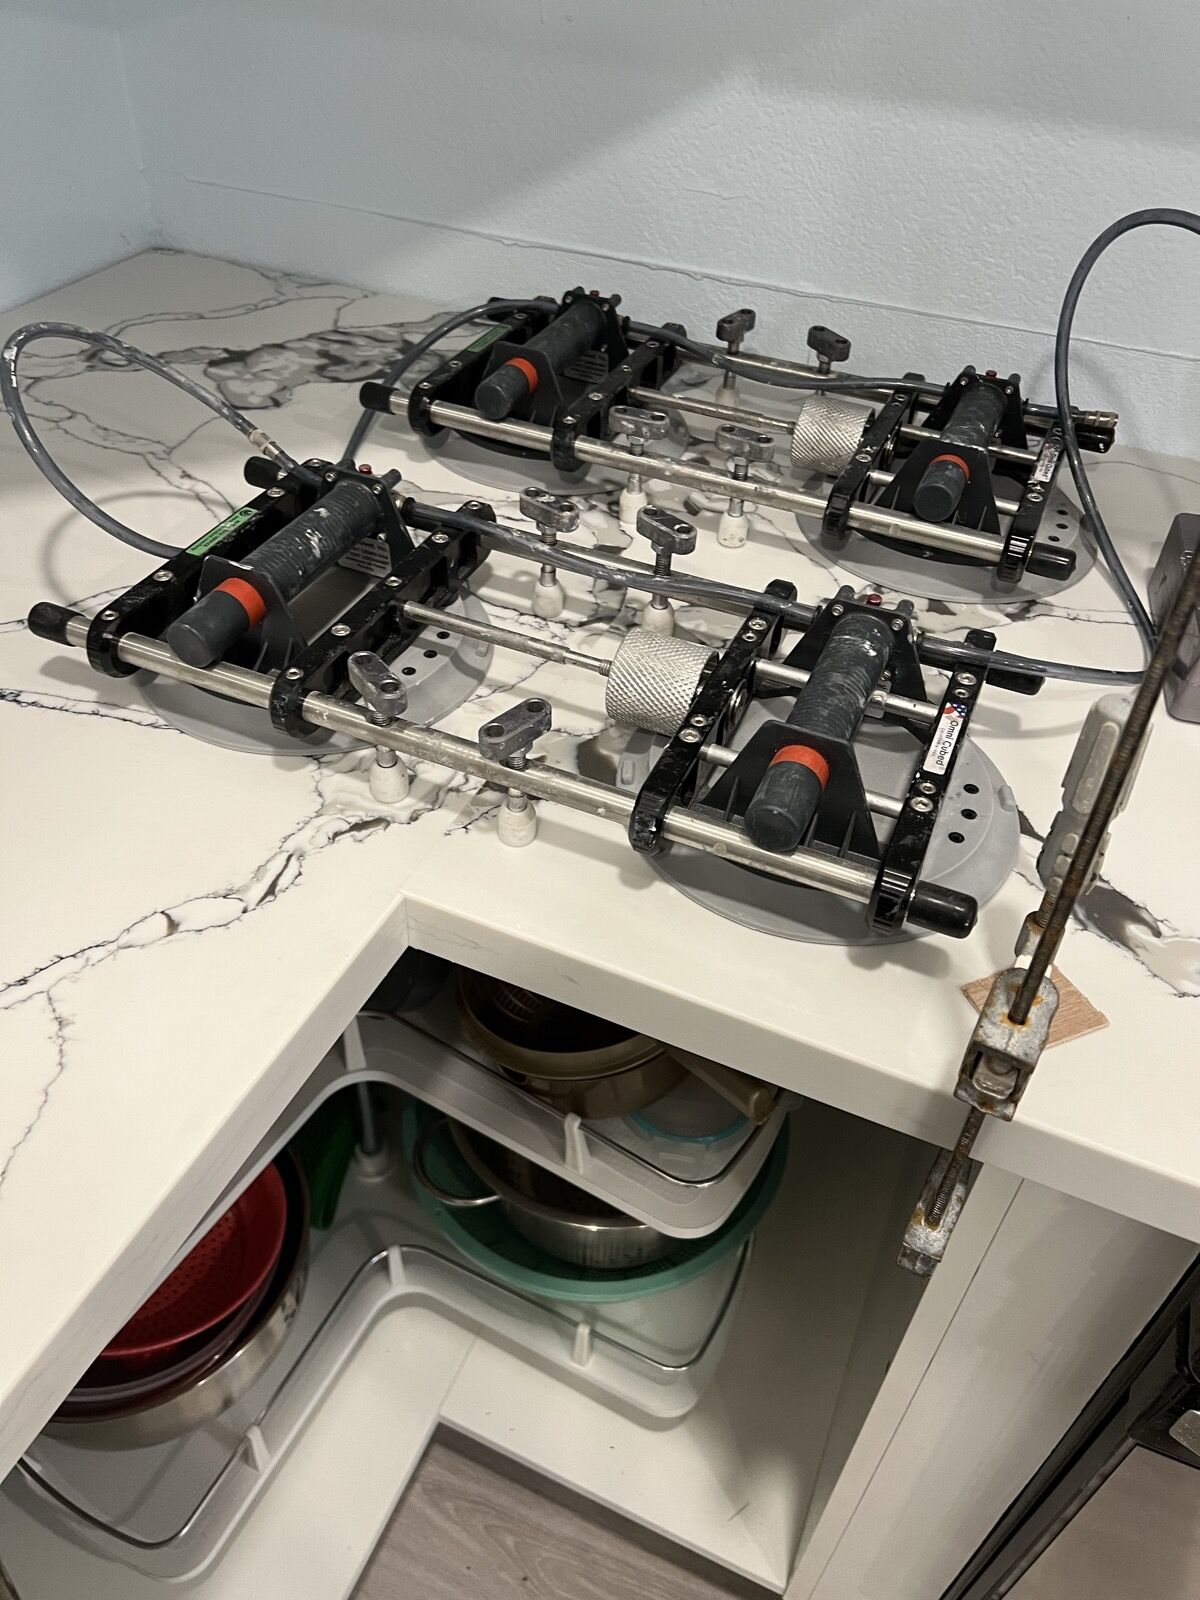
This is the awkward part. Stone has no give. If your base cabinets aren't level — out by an eighth of an inch across a run, say — the template will expose it, because the map won't lie. And the countertop cannot absorb the difference. A slab set on unlevel cabinets rocks, stresses at the seams, and can crack over time.
When the template turns this up, it's a cabinet problem to fix before install: shim and re-level the bases, or in worse cases address sagging boxes. That can add days. It's also exactly what the template is for — finding it now, on a measuring tape, instead of finding it with a cracked slab in your kitchen.
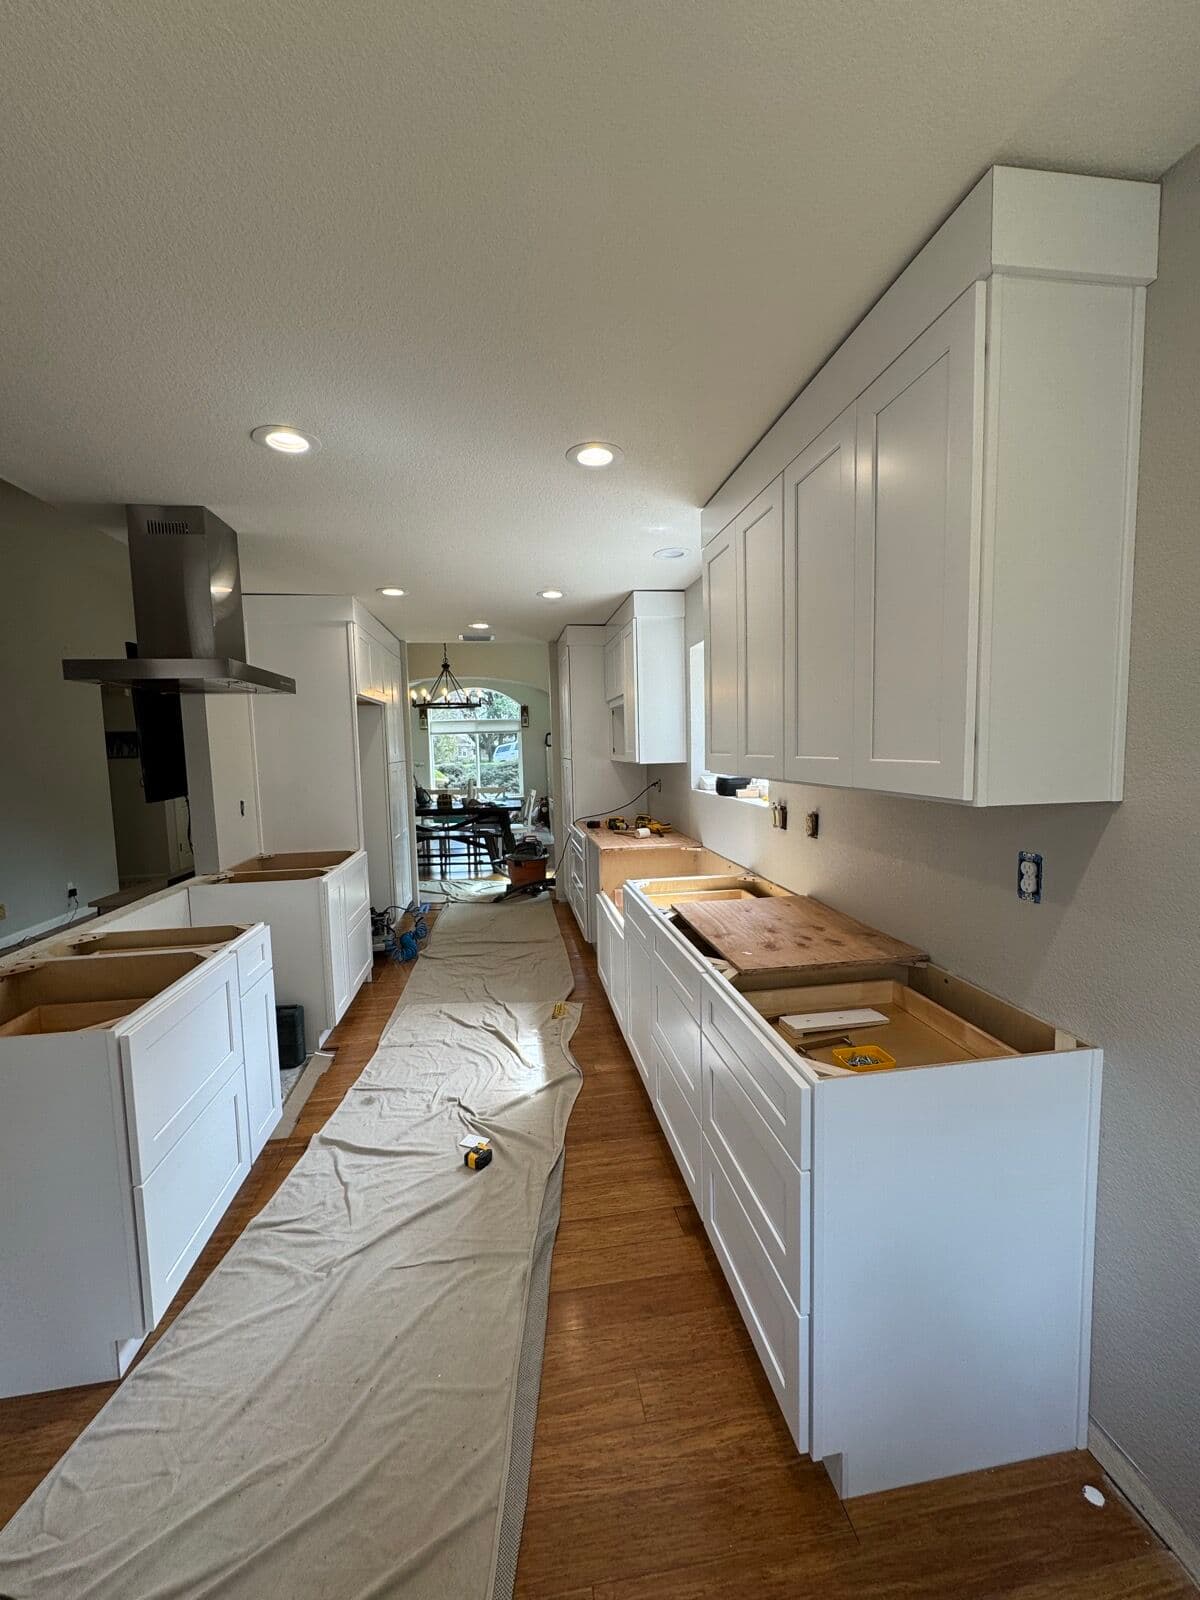
This is why the sequence is rigid: cabinets installed, cabinets level, then template. If you're doing new cabinets as part of the job, the template happens after their install is signed off, not during.
How to be ready for it
A template visit goes smoothly when four things are true before the installer walks in:
- Cabinets fully installed and level — doors on, boxes fixed to the wall.
- Sink, faucet, and cooktop on site, in their boxes, available to be measured.
- Decisions made on bar overhang, edge profile, and which walls get backsplash.
- Someone home who can answer questions. The templater will ask where you want seams if there's a choice, and "whatever you think" is a real answer — but it shouldn't be a surprise answer.
If you're planning a countertop replacement on existing cabinets, the same visit doubles as the inspection of what the new tops will sit on. The estimate comes after measuring, in writing, with the seam plan and the wall situation spelled out — because the template is where the kitchen tells the truth.